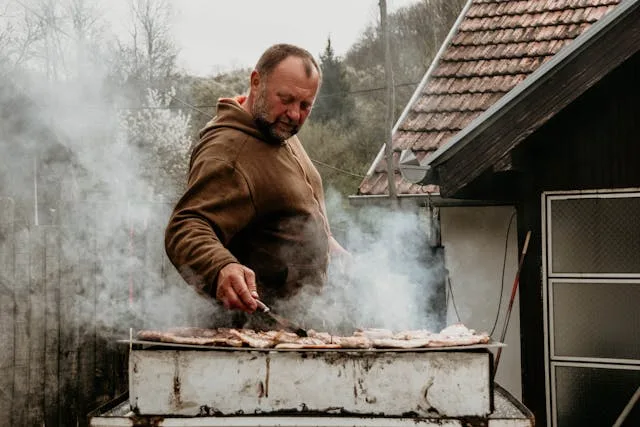
I am not a chef but I ran team building events for more than 20 years. Where I live, one of the best ways for teams to bond is over a BBQ dinner. When we were starting out, I was the one in charge of setting up the fire for such BBQ dinner team events.
The Easy Way Out
Here’s a quick hack for beginners: you can purchase self-lighting charcoal from K-mart, Amazon or DIY shops. These charcoal costs a lot more than traditional charcoal because they are infused with accelerants that make them easy to light.
However, it is very important to follow the instructions closely to ensure that the chemicals are completely burnt off before you start cooking or the chemicals might end up being transferred to the food via the smoke and make.
List of Equipment Needed
If you are using traditional charcoal or normal smokeless charcoal, here is a list of recommended equipment to help you fire up your pit like a pro:
- Charcoal
Any brand of charcoal is fine, as long as you get the longer pieces that are about 4” (10 cm) in length. This is important as it is more difficult to set up a structure with short charcoal pieces to ensure airflow, which is crucial for oxygen to sustain the flame. We’ll come back to this later.
I usually use traditional charcoal or smokeless charcoal as seen in the picture). Smokeless charcoal are more environmentally friendly as they are usually made from bamboo or coconut husk.


Smokeless charcoal is more expensive but it gives off very little smoke after the initial stage, making the BBQ experience more enjoyable. 1 3kg bag of smokeless charcoal should burn for 5-6 hours and will allow you to cook for 8-10 people without topping up the charcoal in between (cooking time will be longer past the 3 hour mark. At this point, you can top up the charcoal with another bag if you want the food to cook faster.
For traditional charcoal, you will definitely need 2 bags for 8-10 pax as they will burn out much quicker.
- Fire Starter
Fire starters can be in the form of solid fuel or it could look like this:

Once again, when using solid fuel to start fires, remember to allow the fuel to completely burn off before cooking. When using more traditional fire starters like the one in the picture, remember to pinch the top a little (as shown in picture) so it is easier to catch fire.
- Butane Torch
You should be able to find these easily, remember to get those that come with 1) flow control & 2) ignitor.

- Butane Canister

- Electric Fan
Any hand held or standing fan that is battery operated will do. You can also manually fan the flame with 2 pieces of disposable plates or a fan.
- Charcoal Tongs
This is any pair of tongs you want to use for adding charcoal, adjusting the pieces during BBQ, it should be separate from the cooking tongs.
Here are the steps:
Step 1 – Build the Tower
Set up the fire starters in the middle and form a tower above it so the charcoal is covering part of the flame and there are gaps for air to flow in and out of the structure.
Ideally, the first layer below should look like this:

Step 2 – Light The Fire Starters
Use the butane torch to light the fire starters. After that, you can add another layer on top but be sure to leave gaps so air can flow in and out of the tower.

Step 3 – Crank Up The Heat
Use the butane torch to heat up the charcoal near the flame so that they can catch fire. You do this by pointing the flame at the charcoal near the fire starters, one section at a time, this could take 2 minutes or so per section. As soon as you see it starting to burn, you can move on to the next section.
Alternatively, you can grab a beer and just allow the fire starters to slowly heat them up and get them to burn by itself.
Take note that at this stage, there could be crackling noises and tiny pieces of charcoal may shoot out of the pit. This is due to moisture in the charcoal and it is perfectly normal. Just be sure to keep your face away and stand a little further away from the pit to avoid getting burned.
Step 4 – Let the Flame Grow
Allow some time for the flame to burn the charcoal so that the surface turns white. Once that happens you can either start cooking if you are happy with the size of your charcoal fire, or you can proceed to step 5.
Realistically, The structure could look like this:

The charcoal pieces were short but the structure method still works. This is the waiting period where the flame is heating up the charcoal. You can see some of the charcoal pieces are already turning white.
Step 5 – Build a Bigger Fire
Once the charcoal pieces have turned white, you can spread them out with a pair of charcoal tongs and pour new charcoal over them then blast them with the electric fan so they catch fire again. After that you let it turn white before cooking.
If you get the right equipment and follow these steps with some practice, you will be able to get the pit ready for cooking in about 20-30 minutes.
For DIY team building activities tips, follow this link, for professional team building services, contact us!